
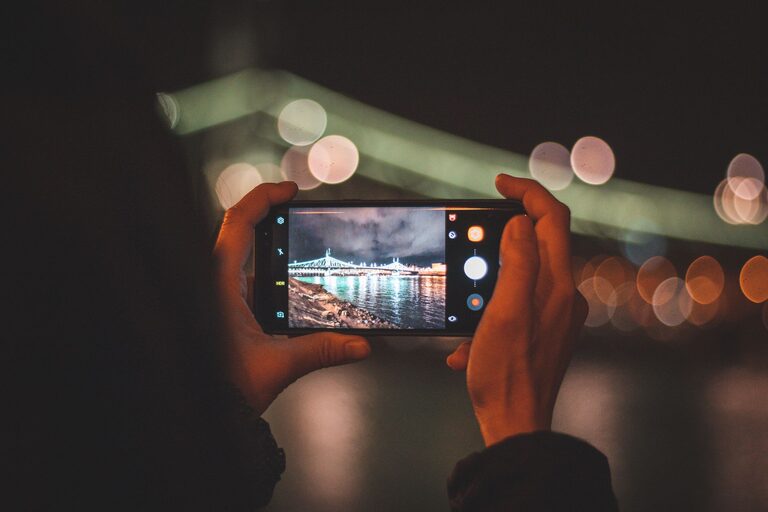
Your phone camera can take impressive photos, but getting better results is not only about having the newest device. Small changes to how you frame, light, and capture a scene can make a noticeable difference.
Whether you are photographing family moments, food, pets, travel scenes, or everyday details, these beginner-friendly tips will help you take clearer and more engaging phone photos.
Start With a Clean Camera Lens
A smudged lens can make photos look hazy, soft, or less colorful. Since phones spend much of the day in pockets, bags, and hands, the camera lens can quickly collect dust and fingerprints.
Before taking an important photo:
– Wipe the lens gently with a soft, clean cloth.
– Avoid using rough materials that could scratch the glass.
– Check the lens quickly if your photos look blurry or cloudy.
This simple habit often improves image quality immediately.
Use Natural Light Whenever Possible
Light is one of the most important parts of any photo. When you are indoors, try taking pictures near a window or open door. Outdoors, look for areas with soft, even light instead of harsh direct sunlight.
Bright midday sun can create strong shadows on faces and make some areas of a photo too bright. If possible, take portraits in the morning, late afternoon, or in the shade.
For better results:
– Place your subject near a window.
– Keep the light in front of or slightly to the side of your subject.
– Avoid placing a bright window directly behind your subject.
– Watch for distracting shadows on faces and objects.
Soft light is especially helpful for portraits, food photos, and indoor scenes.
Keep Your Phone Steady
Small movements can make photos blurry, especially in dim lighting. Hold your phone with both hands and keep your elbows close to your body. You can also lean against a wall, table, or other stable surface.
When taking a photo:
- Hold the phone at a comfortable height.
- Frame the scene before pressing the shutter.
- Take a slow breath.
- Tap the shutter gently instead of jabbing the screen.
For night photos or long exposures, use a stable surface whenever possible. Even a small tripod or phone stand can help.
Tap to Focus
Most phone cameras automatically choose what to focus on, but they may not always select the part of the scene you want to emphasize. Tap your main subject on the screen before taking the photo.
For example, if you are photographing a person in front of a busy background, tap the person’s face. If you are taking a close-up of a flower, tap the flower itself.
Many phones also let you adjust brightness after tapping. Slide your finger up or down on the screen to make the image lighter or darker. This gives you more control when the automatic setting is not quite right.
Use the Grid to Improve Composition
A camera grid can help you line up photos and create a more balanced composition. Look for the grid option in your camera settings and turn it on.
The grid is useful for:
– Keeping horizons straight.
– Aligning buildings and windows.
– Positioning a subject off-center.
– Creating more balanced landscapes.
A common composition technique is the rule of thirds. Imagine dividing the frame into nine equal sections. Place important subjects along the lines or near the points where the lines meet. This often creates a more natural-looking image than placing everything directly in the center.
The rule of thirds is a helpful guide, not a strict rule. Centered photos can also look strong when the subject is symmetrical or especially simple.
Pay Attention to the Background
A great subject can lose attention if the background is cluttered. Before pressing the shutter, take a moment to look around the edges of the frame.
Move or reframe the shot if you notice:
– Bright objects behind your subject.
– Poles or branches that appear to grow from a person’s head.
– Unnecessary clutter.
– Text or signs that distract from the main subject.
– Uneven lines or objects near the edge of the image.
Sometimes you can improve a photo simply by taking a step to the side, lowering the camera, or moving closer to your subject.
Try Different Angles and Perspectives
Your first angle is not always the most interesting one. Experiment by taking the same photo from several positions.
Try:
– Getting closer to your subject.
– Taking a photo from a lower angle.
– Holding the phone higher for a wider view.
– Photographing through a doorway or between objects.
– Turning the phone horizontally or vertically.
Changing your position can reveal better light, remove distractions, or create a stronger sense of depth. Avoid relying on digital zoom when possible, since it can reduce detail. Instead, move closer if it is safe and practical.
Use Portrait Mode Carefully
Portrait mode can create a soft background and help a subject stand out. It works best when there is a clear distance between the subject and the background.
For natural results:
– Keep the subject several feet away from the background.
– Make sure the subject is well lit.
– Check the edges of hair, glasses, and clothing.
– Avoid overly strong background blur when a more natural look is better.
Portrait mode is useful for people, pets, flowers, and small objects, but it may struggle with fine details or busy scenes. Review the photo afterward to make sure the edges look clean.
Do Not Overuse Filters
Filters can add style, but heavy effects may make photos look unnatural. Start with a simple edit and make small adjustments.
Useful editing controls often include:
– Brightness
– Contrast
– Highlights
– Shadows
– Color temperature
– Crop and straighten
Try to preserve natural skin tones and realistic colors. If you are unsure whether an edit has gone too far, take a short break and look at the image again later. Comparing the edited version with the original can also help.
Take More Than One Photo
Important moments can change quickly. A person may blink, a pet may move, or the light may shift. Take a few photos from slightly different angles rather than depending on one image.
Afterward, choose the strongest photo and delete duplicates. Regularly removing unwanted images also keeps your phone organized and leaves more storage space.
Burst mode can be helpful for movement, such as children playing, pets running, or sports. Use it selectively so your camera roll does not become difficult to manage.
Practice With Everyday Subjects
You do not need an expensive trip or special event to improve. Practice with ordinary subjects around your home or neighborhood.
Choose one subject and photograph it in different ways:
– In soft window light.
– From close up.
– From a distance.
– Against a simple background.
– From several angles.
– At different times of day.
Review the results and ask what changed. Notice which lighting, angle, and composition choices make the subject clearer or more interesting.
Build a Simple Photo Routine
Before taking a photo, use this quick checklist:
- Clean the lens.
- Check the light.
- Choose the main subject.
- Tap to focus.
- Look at the background.
- Keep the phone steady.
- Try a second angle.
- Review the image before moving on.
Better phone photography comes from paying attention to simple details. With regular practice, you will learn to recognize good light, strong compositions, and moments worth capturing. The best camera is often the one you already have with you, so keep experimenting and enjoy the process.